作者skinn (csterna)
看板Card-DIY
標題[分享] 包裝後的新川崎玫瑰
時間Thu May 29 02:29:42 2008
照片需一張一張點選 較為不便 敬請見諒
作品種類:摺紙
相簿連結:
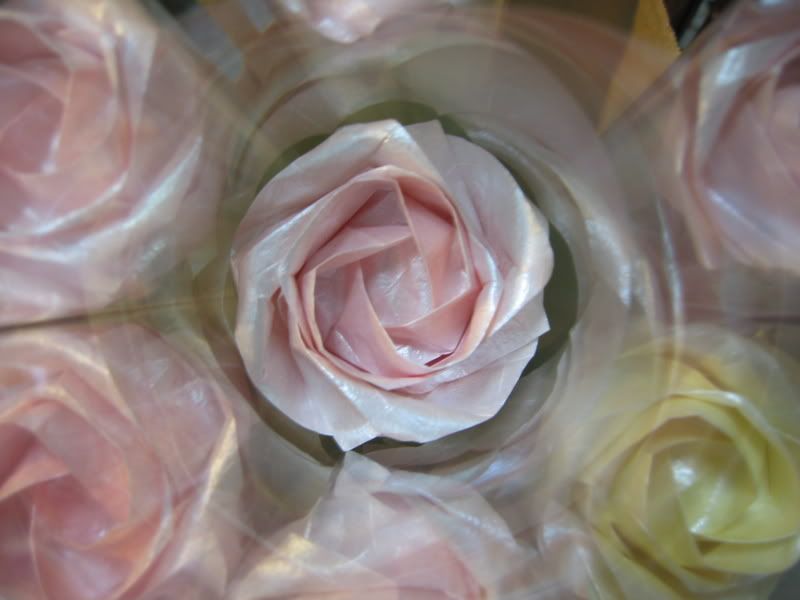
赤裸的玫瑰
http://i119.photobucket.com/albums/o139/sena73525/IMG_0001.jpg
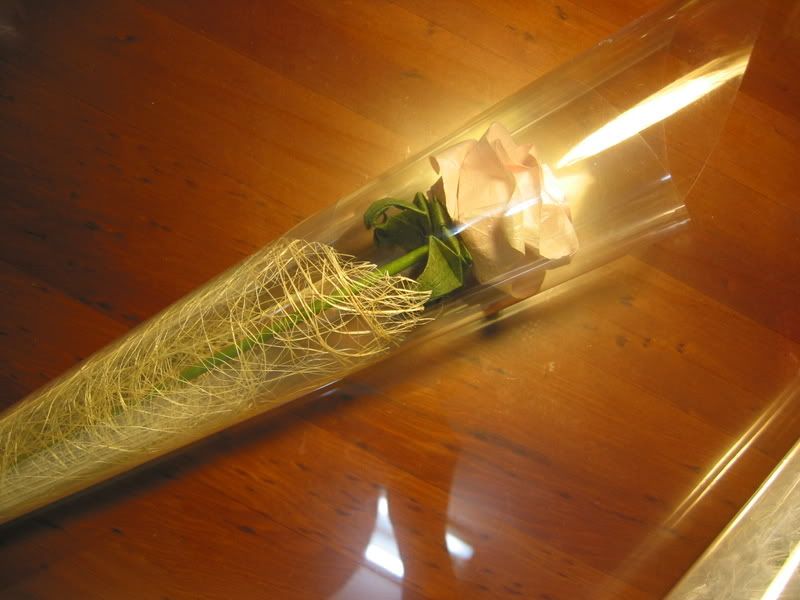
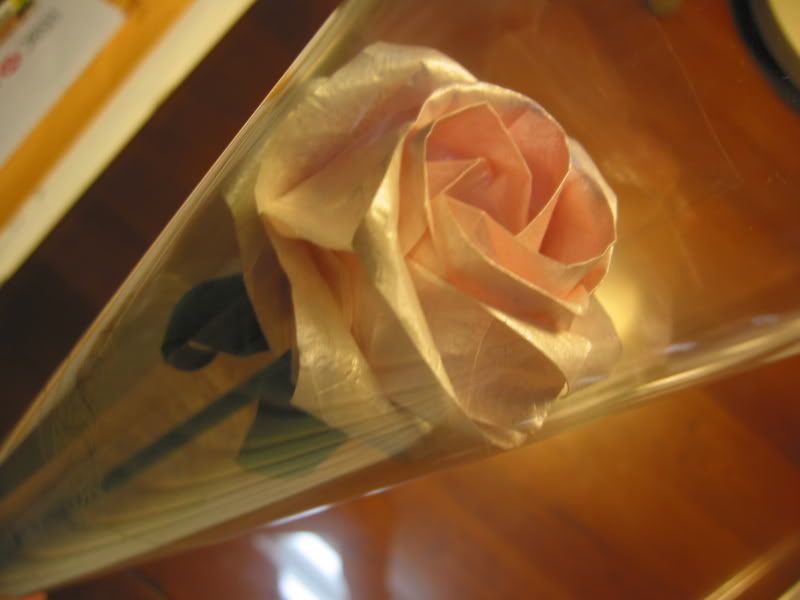
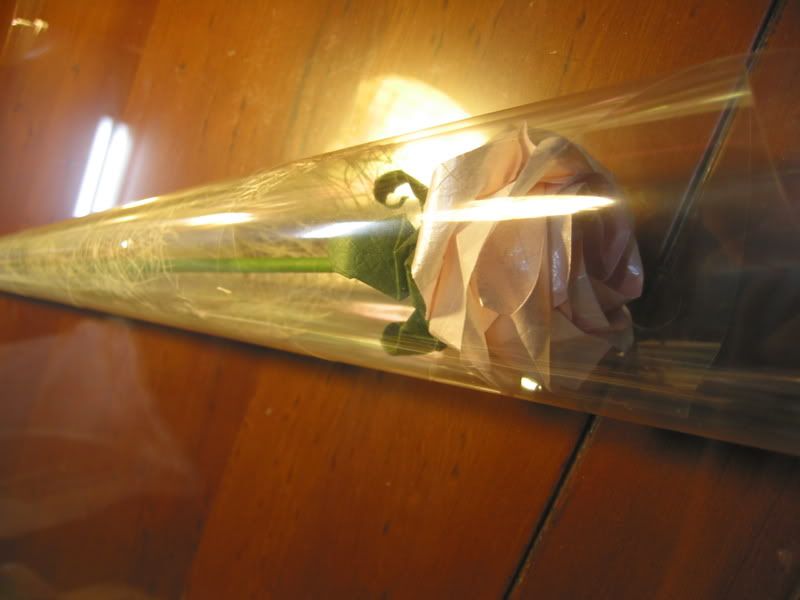
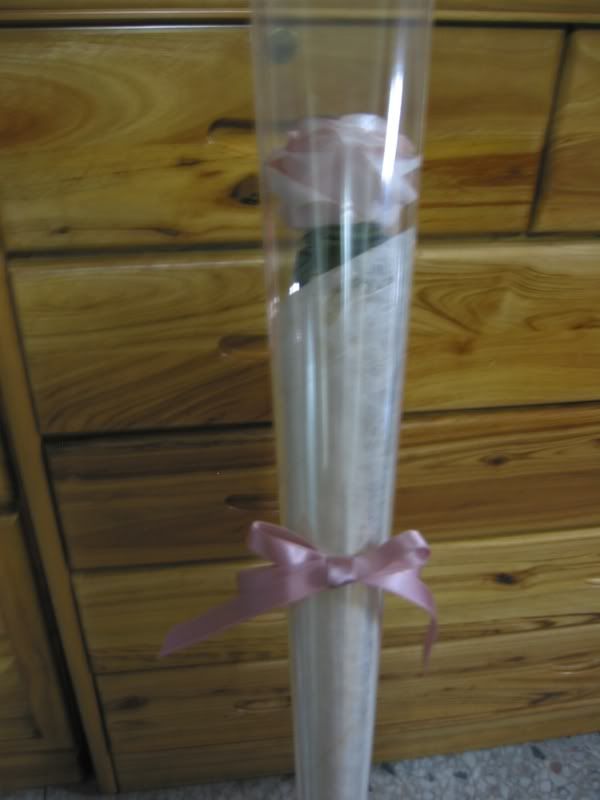
包裝後(單朵)
http://i119.photobucket.com/albums/o139/sena73525/IMG_0009.jpg
http://i119.photobucket.com/albums/o139/sena73525/IMG_0011.jpg
http://i119.photobucket.com/albums/o139/sena73525/IMG_00129.jpg
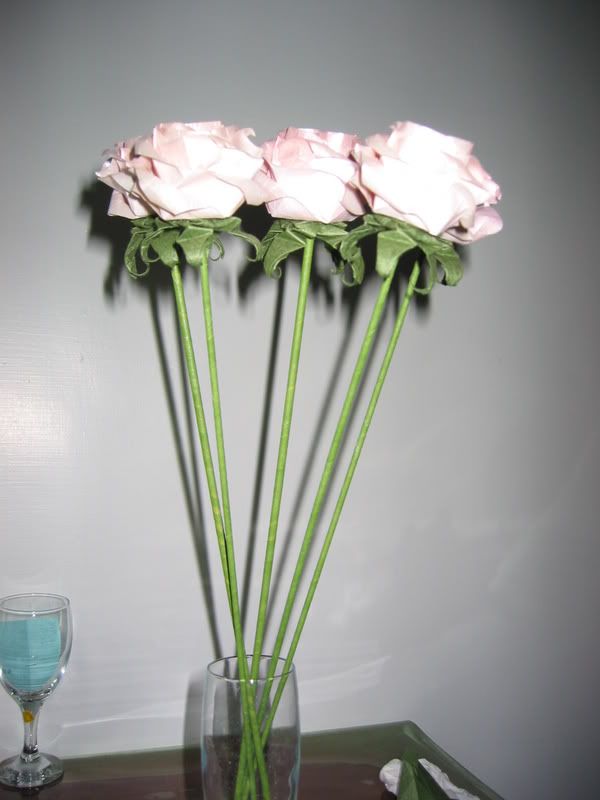
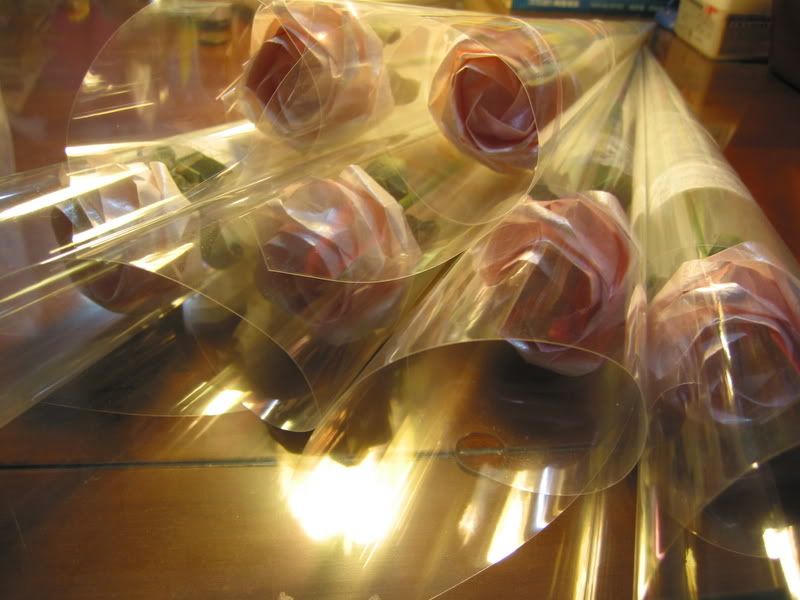
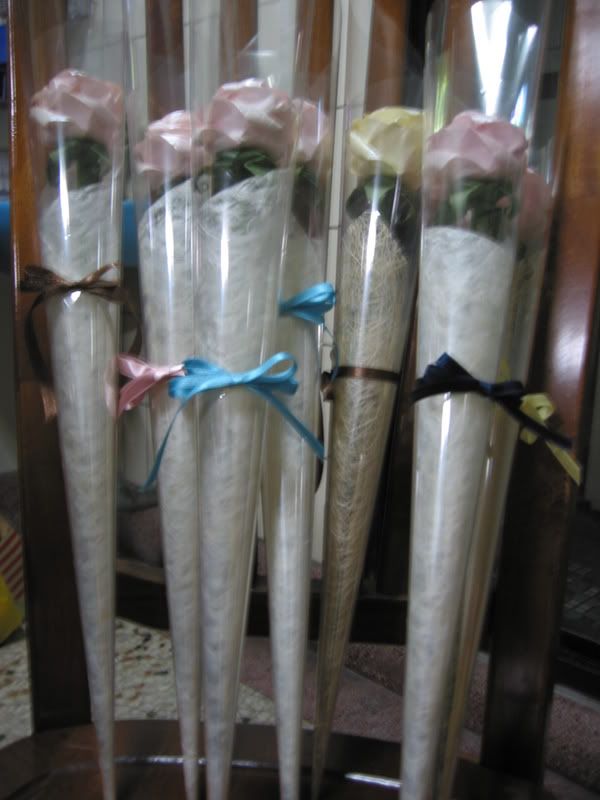
包裝後(一把)
http://i119.photobucket.com/albums/o139/sena73525/IMG_0002.jpg
http://i119.photobucket.com/albums/o139/sena73525/IMG_0018.jpg
http://i119.photobucket.com/albums/o139/sena73525/IMG_0023.jpg
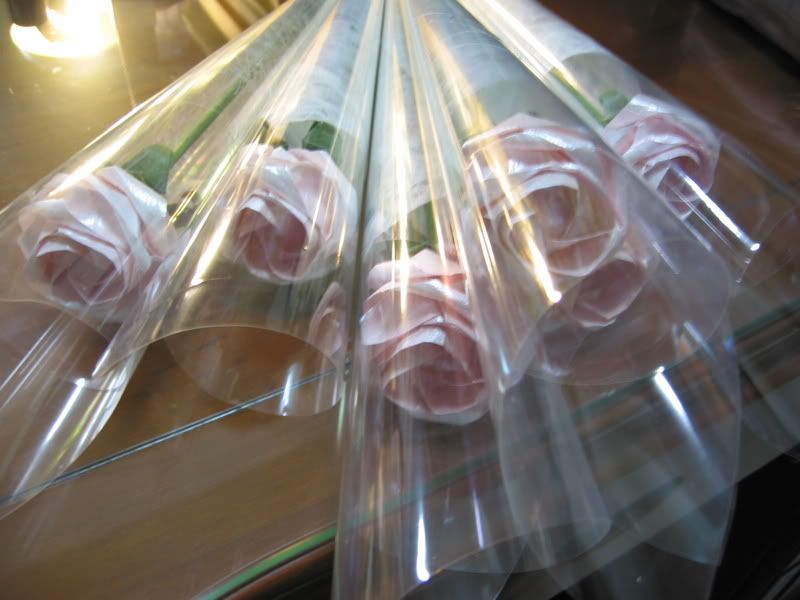
包裝後(俯視圖)
http://i119.photobucket.com/albums/o139/sena73525/IMG_0052.jpg
綁上緞帶
http://i119.photobucket.com/albums/o139/sena73525/IMG_0085.jpg
http://i119.photobucket.com/albums/o139/sena73525/IMG_0068.jpg
心得/作法:
玫瑰花 - 紙藝小站
http://www.miniworld.com.tw/frame.php?hompy=294911
紙材:珍珠手揉紙 + 水彩染色
尺寸:19.5cm* 19.5cm
花萼 - 瘋小貓的華麗冒險
http://blog.pixnet.net/crazycat1130/post/1345493
紙材:類似手揉紙的紙但比手揉紙薄
尺寸:15.5cm *15.5cm
好像還沒有人發明 新川崎玫瑰的花萼摺法 所以就用川崎玫瑰的花萼
花與花萼以熱熔膠連接
我覺得黏的時候 花萼的角要對玫瑰花的邊較好看
(示意圖)中間的方形是花萼 外框是玫瑰花底部
╴╴╴
|╱╲︳
︱╲╱︳
 ̄ ̄ ̄
莖
書局買的竹棒(約可裁成三段)及透明塑膠棒(約可裁為兩段)
外層捆上綠色紙膠
也可直接買捆好綠色膠帶的鐵絲
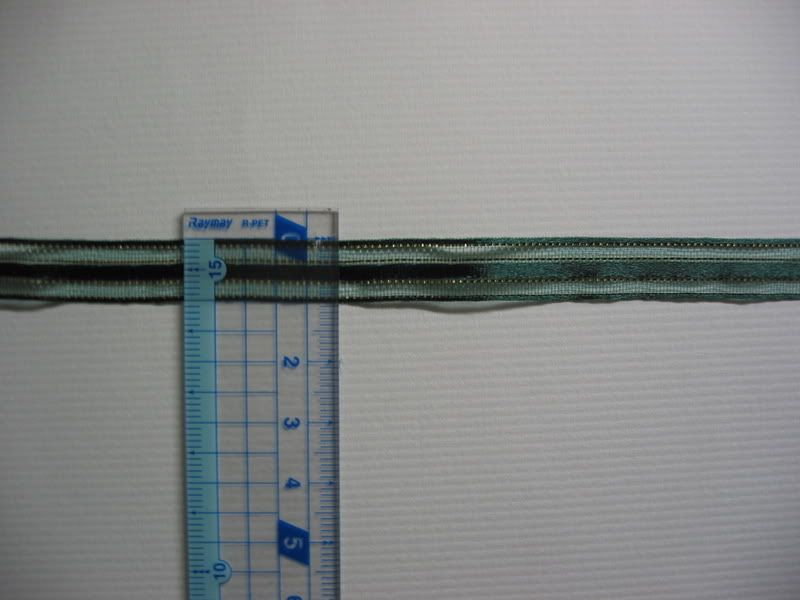
雙層蝴蝶結 - Bonnie & Crafts(手作)
http://blu927.blogspot.com/2007/02/blog-post.html
配以下緞帶(墨綠色+金色)比較好看 但剛好用完只好用其他替代
http://i119.photobucket.com/albums/o139/sena73525/003.jpg
寬度 1cm
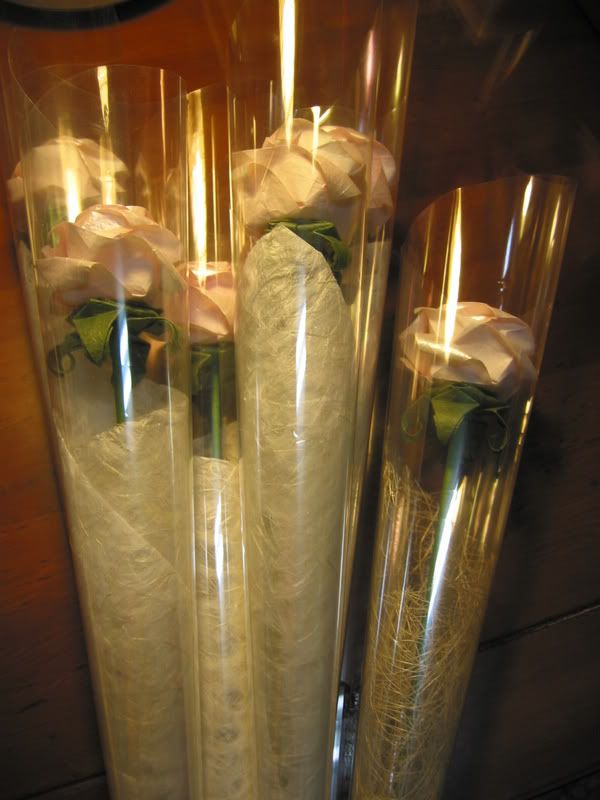
外包裝
材料:花店玻璃紙 麻落水紙及不知名紙材
尺寸:忘了量
一張方形玻璃紙 可包兩朵花
A4特殊紙也可分成兩份使用
包的時候花放斜的 然後捲起來即可
--
※ 發信站: 批踢踢實業坊(ptt.cc)
◆ From: 140.123.239.194
※ 編輯: skinn 來自: 140.123.239.194 (05/29 02:30)
※ 編輯: skinn 來自: 140.123.239.194 (05/29 02:30)
※ 編輯: skinn 來自: 140.123.239.194 (05/29 02:31)
推 bluewanlin:好漂亮唷~~~ >/////< 05/29 03:05
推 conankid:天阿...好漂亮...點開一張圖,就忍不住全點開來看了~ 05/29 04:08
推 soar927:好漂亮~ 我的網誌有被引用耶(羞) 05/29 10:41
推 ameko612:天ㄚ!!看完我的眼睛都要花了!!好厲害..... 05/29 13:55
推 hsing0420:好漂亮!! 05/29 14:37
→ molacat:漂亮耶!!! 05/29 16:17
推 jiun6372:好美唷~~~ 05/30 01:09
推 Nitrate:太神了 Q_Q... 05/31 01:49