作者ivon852 (內容農場殺手)
看板MobileComm
標題[心得] 3D硬體加速的Proot Linux
時間Fri Dec 10 10:41:54 2021
## 一、目的
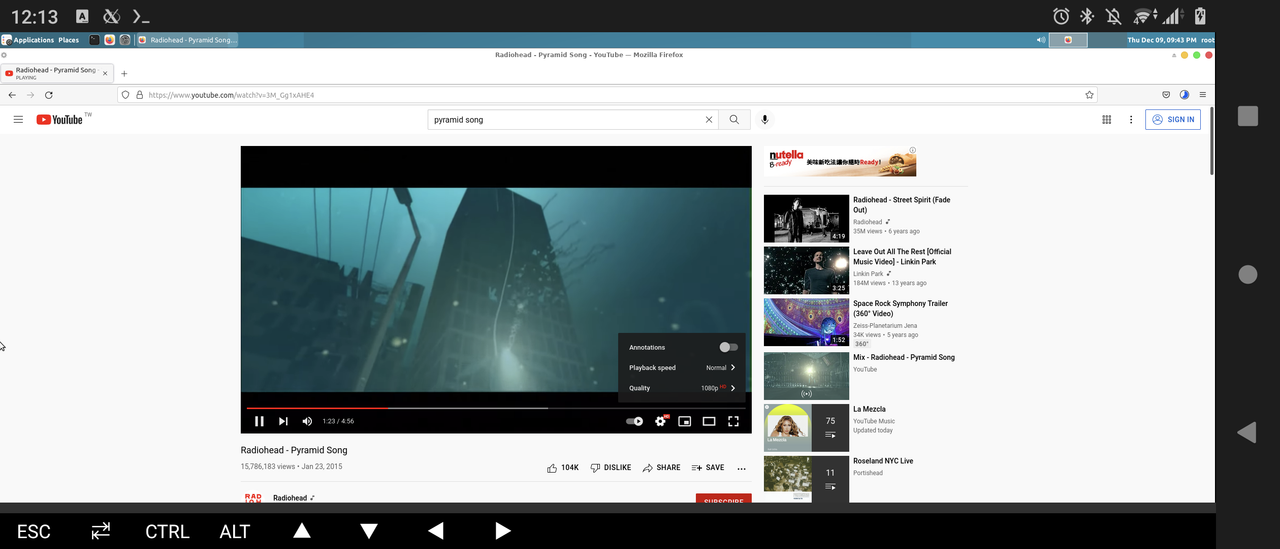
嘗試在Android手機執行Linux桌面程式,自行編譯驅動,觀看1080p影片和玩3D遊戲,外接
螢幕和鍵鼠操作。
網誌好讀版:
https://bit.ly/31O5Azk
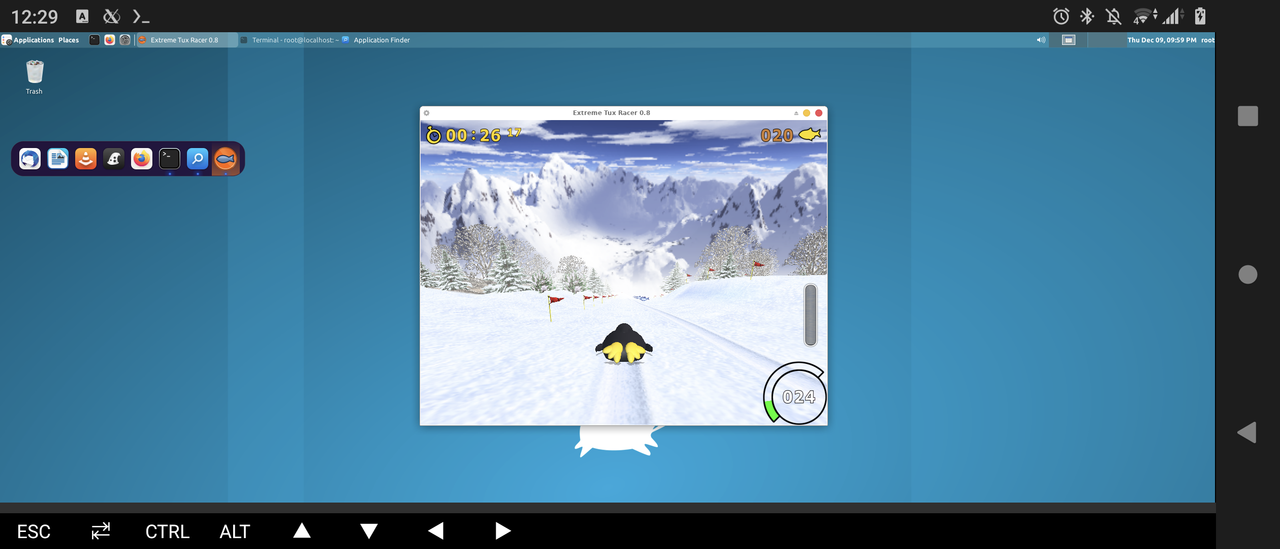
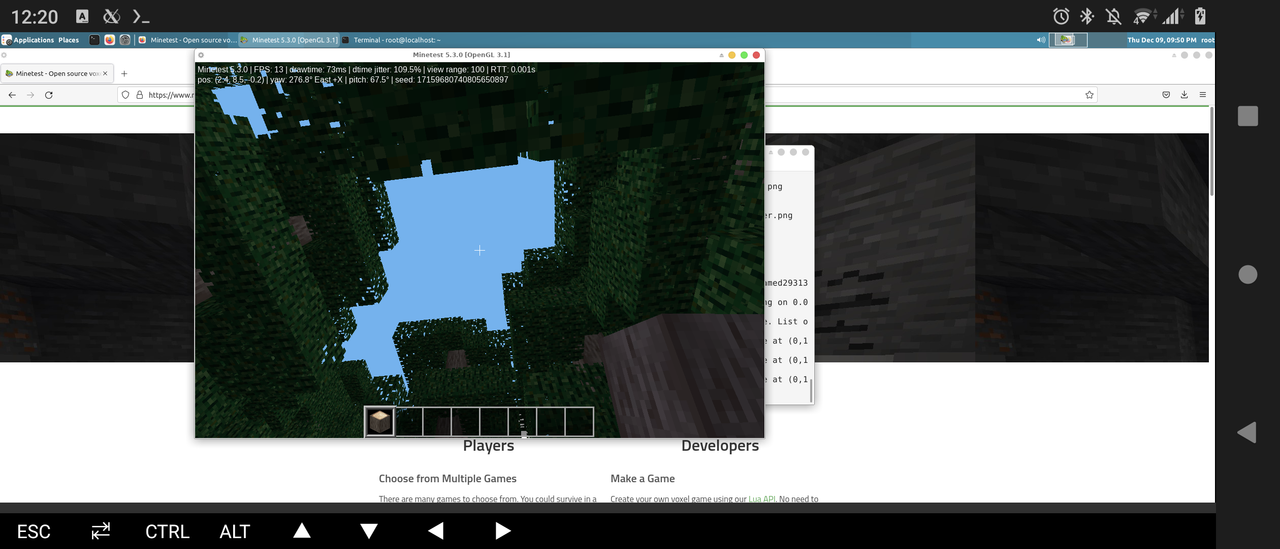
實際測試程式:
企鵝在滑雪
Minetest
Youtube播放1080p影片
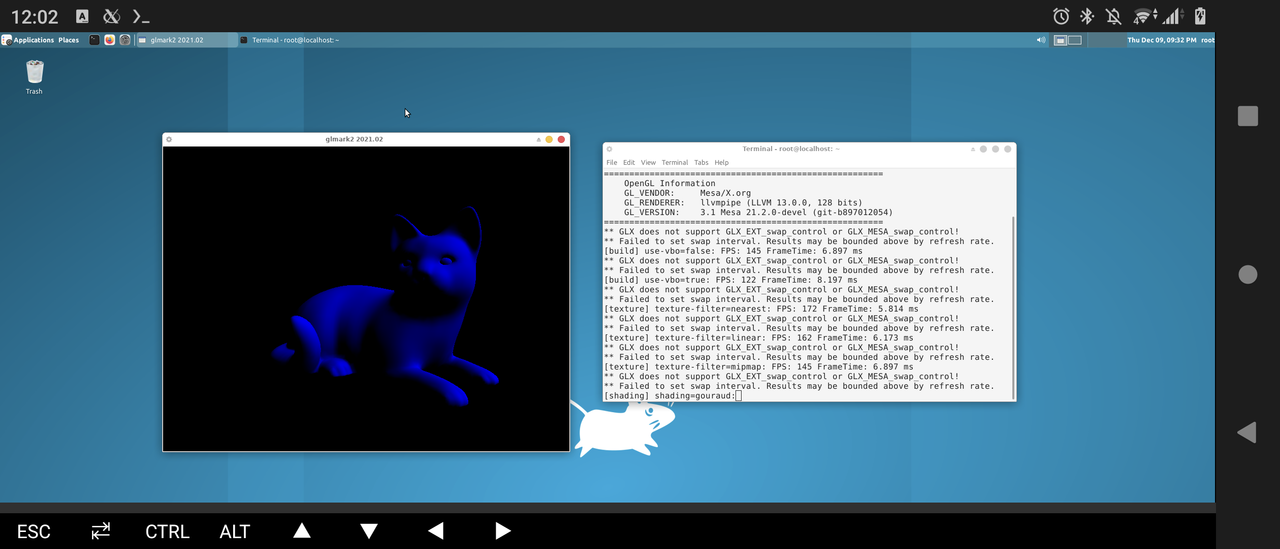
Glmark2
==============================
## 二、說明
Termux是一款Android上的Linux終端機模擬器,不需要Root權限就可以Proot安裝Linux發行
版。
但預設安裝的沒有硬體加速,換言之就是繪圖效能很差,網頁播放1080p影片都會卡卡的。
本文參考YouTube頻道GxmerSam的影片,自行在手機上編譯mesa驅動,進而實現硬體加速。
**本文使用測試版的Termux,如果已經安裝穩定版Termux需先解除安裝。**
手機:Sony Xperia 5 II,Android 11
==============================
## 三、安裝必要的App
1.從[Github](
https://github.com/termux/termux-app/actions/workflows/debug_build.
yml)下載測試版Termux,解壓縮安裝APK。
2. 開啟Termux,取得儲存空間權限,就能透過storage存取手機內部儲存空間目錄。
```
termux-setup-storage
```
3. 從[Github](
https://github.com/termux/termux-x11/actions/workflows/debug_build
.yml)下載測試版Termux-x11,解壓縮安裝apk。
Termux-x11除了安裝apk外,還要開啟Termux,把deb檔移動到termux的家目錄:
```
#假設termux-x11.deb位於內部儲存空間
mv storage/shared/termux-x11.deb
```
再用以下指令安裝:
```
dpkg -i termux-x11.deb
```
==============================
## 四、Termux基本操作:
1. 輸入框長按可複製貼上指令。
2. 通知欄下滑,按下`Aquire Wakelock`可避免Termux在背景執行被系統殺掉。
3. 使用`pkg update` 和 `pkg upgrade`指令來安裝套件。
4. 左邊往內滑,按`New Session`可以開啟第二個終端機。
5. 使用`exit`指令退出程式。
==============================
## 五、安裝Linux發行版
這裡採用的是udroid,此腳本會在Termux安裝Ubuntu 21.04,桌面環境是xfce4。
1. 使用以下三條指令下載安裝:
```
curl -L -o install.sh
https://git.io/hippo-installer
bash install.sh
udroid --install
```
2. 下載完成,安裝完後的畫面。
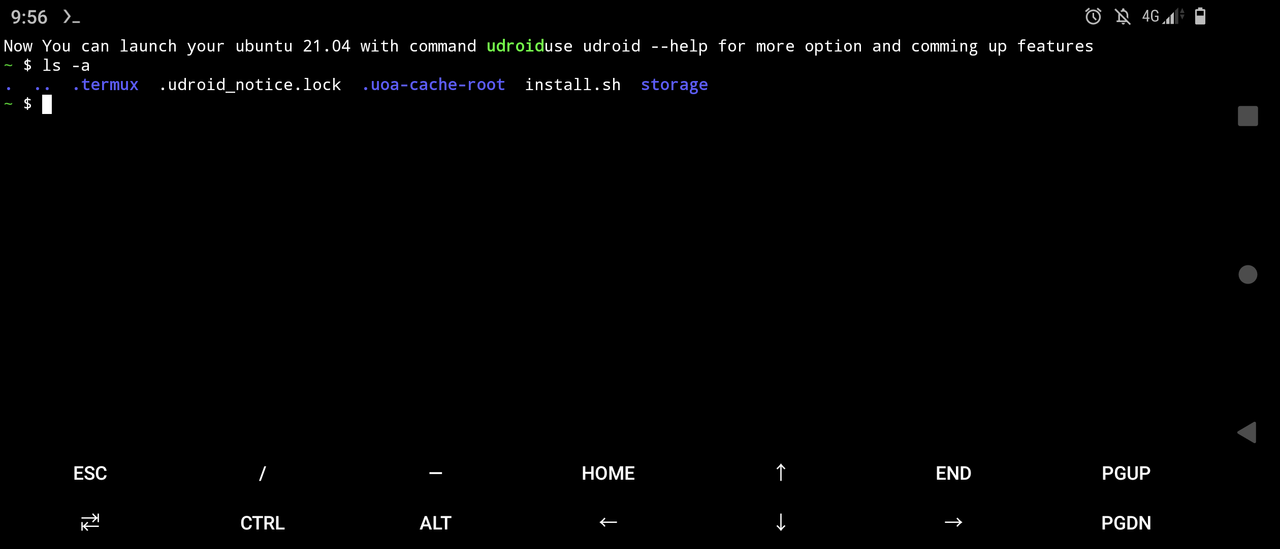
4. 使用指令進入系統:
```
udroid
```
==============================
## 六、設定和測試x11桌面
雖然vncserver + VNC Viewer App就能看到桌面,但因為這裡要用硬體加速,改用x11來顯
示桌面。
1. 先登出udroid系統,再安裝必要套件
```
exit
pkg install x11-repo -y
pkg install xwayland termux-x11
```
2. 啟動x11懸浮視窗
```
termux-x11
```
3. 開第二個終端機,登入udroid
```
proot-distro login udroid --shared-tmp
```
4. 有時候要殺掉vncserver預設開啟的DISPLAY
```
vncserver kill :0
```
5. 啟動XFCE4桌面。
```
export DISPLAY=:0
dbus-launch --exit-with-session startxfce4
```
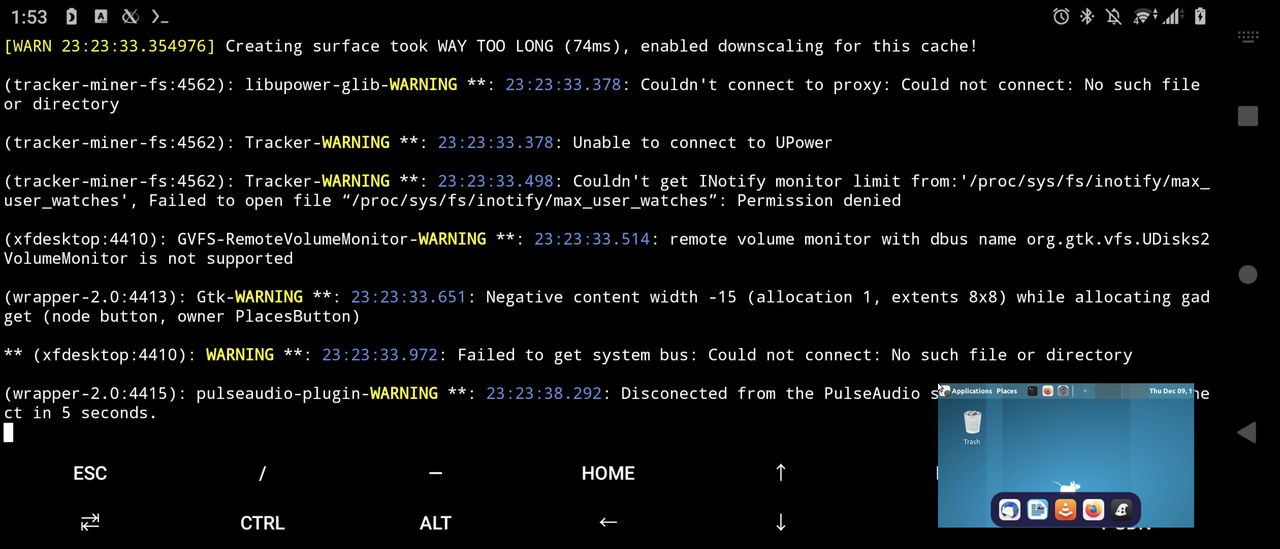
6. 這樣一來,懸浮視窗應該就會出現XFCE4桌面了。
==============================
## 七、編譯驅動程式
前面雖然安裝系統了,但還沒有真正的硬體加速,好玩的現在才剛開始。
以下步驟參考自GxmerSam提供的說明文件,我按照實際安裝的情況寫了一些註解。
1. 到[Github](
https://github.com/suhan-paradkar/tewmux-disabled/releases/tag/mes
a-hw)下載suhan-paradkar提供的檔案。
2. 解壓縮,將instructions資料夾移動到Termux家目錄。
```
mv storage/downloads/instructions ~
```
3. 接著開始編譯驅動程式。
```bash
#有時候autogen.sh編譯失敗可以再嘗試一次
mkdir ~/dir
termux-setup-storage
echo Y | pkg upgrade -y
#下載安裝需要的套件
pkg install -y x11-repo
pkg install -y clang lld cmake autoconf automake libtool '*ndk*' make python git
libandroid-shmem-static 'vulkan*' ninja llvm bison flex libx11 libdrm libpixman
libxfixes libjpeg-turbo xtrans libxxf86vm xorg-xrandr xorg-font-util xorg-util-
macros libxfont2 libxkbfile libpciaccess xcb-util-renderutil xcb-util-image xcb-
util-keysyms xcb-util-wm xorg-xkbcomp xkeyboard-config libxdamage libxinerama
pip install meson mako
cd ~/dir
git clone --depth 1 git://github.com/freedesktop/xorg-xorgproto.git
git clone --depth 1 git://github.com/wayland-project/wayland.git
git clone --depth 1 git://github.com/wayland-project/wayland-protocols.git
git clone --depth 1 git://github.com/freedesktop/libxshmfence.git
git clone --single-branch --shallow-since 2021-02-22 git://github.com/mesa3d/mes
a.git
git clone --depth 1 git://github.com/dottedmag/libsha1.git
git clone --depth 1 git://github.com/anholt/libepoxy.git
git clone -b xorg-server-1.20.13 --depth 1 git://github.com/freedesktop/xorg-xse
rver.git xorg-server-1.20.13
git clone --depth 1 git://github.com/glmark2/glmark2.git
#編譯Xorg
cd ~/dir
cd xorg-xorgproto
./autogen.sh --prefix=$PREFIX --with-xmlto=no --with-fop=no --with-xsltproc=no
make -j8 install
cd ~/dir/wayland
mkdir b
cd b
pkg install binutils
meson -Dprefix=$PREFIX -Ddocumentation=false ..
ninja install
#編譯Wayland Protocols
cd ~/dir/wayland-protocols
meson -Dprefix=$PREFIX ..
cd ..
ninja install
#編譯libshmfence
cd ~/dir/libxshmfence
./autogen.sh --prefix=$PREFIX --with-shared-memory-dir=$TMPDIR
sed -i s/values.h/limits.h/ ./src/xshmfence_futex.h
make -j8 install CPPFLAGS=-DMAXINT=INT_MAX
#編譯mesa
cd ~/dir/mesa
git checkout b8970120545b3cb250821013cb459bf4d2acfda4
#apply patches,將壓縮檔的instructions目錄移動到termux家目錄
for patch in ~/instructions/patches/mesa/*.patch; do patch -p1 < $patch; done
mkdir b
cd b
meson ..
ninja install
cd ~/dir
#編譯libsha
cd libsha1
./autogen.sh --prefix=$PREFIX
make -j8 install
cd ~/dir/libepoxy
#套用patch
for patch in ~/instructions/patches/epoxy/*.patch; do patch -p1 < $patch; done
mkdir b
cd b
meson -Dprefix=$PREFIX -Degl=yes -Dglx=yes -Dtests=false -Dx11=true ..
ninja install
cd ~/dir/xorg-server-1.20.13
#套用patch
for patch in ~/instructions/patches/xorg/*.patch; do patch -p1 < $patch; done
./autogen.sh --enable-mitshm --enable-xcsecurity --enable-xf86bigfont --enable-x
wayland --enable-xorg --enable-xnest --enable-xvfb --disable-xwin --enable-xephy
r --enable-kdrive --disable-devel-docs --disable-config-hal --disable-config-ude
v --disable-unit-tests --disable-selective-werror --disable-static --without-dtr
ace --disable-glamor --enable-dri --enable-dri2 --enable-dri3 --enable-glx --wit
h-sha1=libsha1 --with-pic --prefix=$PREFIX ; make -j8 install LDFLAGS='-fuse-ld=
lld /data/data/com.termux/files/usr/lib/libandroid-shmem.a -llog'
make -j4 install
#編譯glmark2
cd ~/dir/glmark2
mkdir b
cd b
meson -Dprefix=$PREFIX -Dflavors=x11-gl ..
ninja install
cd
```
## 八、實際測試3D硬體加速
編譯好之後,步驟跟第六節一樣,啟動桌面再安裝要測試的應用程式。
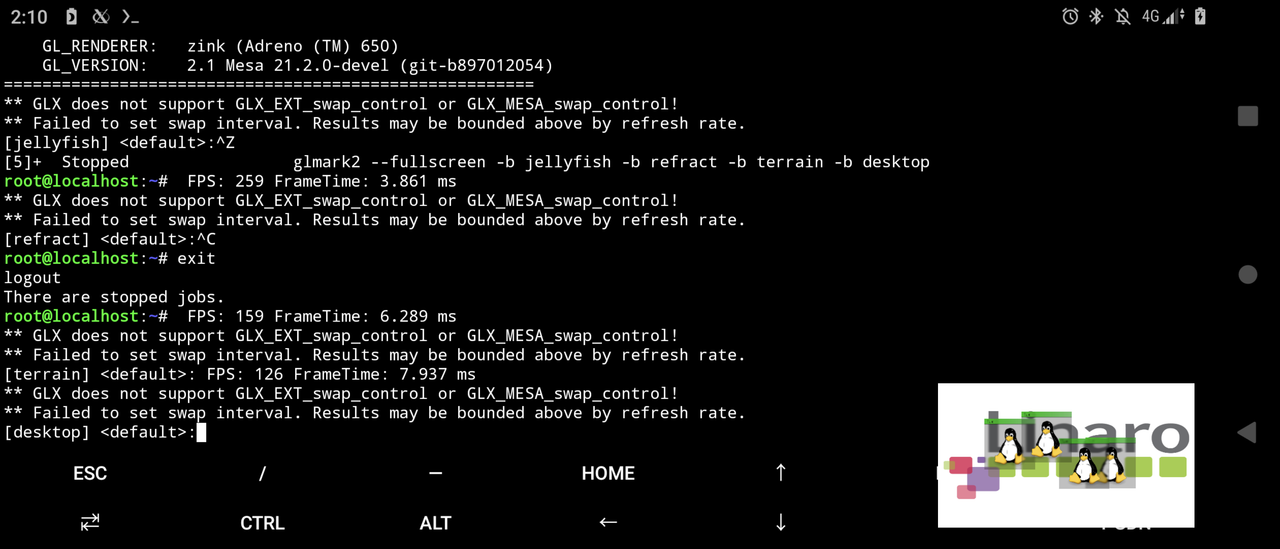
如果只要測試3D不開桌面,剛剛編譯好的glmark2是最好的選擇:
```
termux-x11
#開第二個終端機
XDG_RUNTIME_DIR=$TMPDIR $PREFIX/bin/Xwayland &
export GALLIUM_DRIVER=zink
export DISPLAY=:0
sleep 5; glmark2 --fullscreen -b jellyfish -b refract -b terrain -b desktop
```
==============================
## 九、結論
Termux是以Proot安裝Linux發行版,系統服務受到限制。
即使裝了一些驅動,3D性能還是無法完全發揮,GxmerSam的影片表現的性能可能更高,但未
透露具體設定細節。
==============================
## 參考資料
https://youtu.be/sbrif7lbkXE
https://gxmersam.blogspot.com/p/getting-hardware-acceleration-on-termux.html
https://github.com/RandomCoderOrg/ubuntu-on-android
https://udroid-rc.gitbook.io/udroid-wiki/udroid-landing/quick-installation-and-u
sage/setting-up-gui/termux-x11
--
https://i.imgur.com/qBnCgUO.jpg
https://i.imgur.com/klpjZcQ.jpg
https://i.imgur.com/yLTmoHs.jpg
https://i.imgur.com/WepO17T.jpg
--
※ 發信站: 批踢踢實業坊(ptt.cc), 來自: 42.77.104.204 (臺灣)
※ 文章網址: https://www.ptt.cc/bbs/MobileComm/M.1639104126.A.202.html
→ abc0922001 : 酷耶,有看過別人用手機編譯 ROM12/10 11:24
推 wolfking : 好猛啊! 看起來很有趣12/10 11:46
推 rail02000 : 推推再來玩玩看12/10 12:06
推 randy061 : 這個厲害12/10 12:38
推 Chaowei : 推 termux 好用!!!12/10 13:18
推 Altair : 看起來很有趣+112/10 13:44
→ tony24334 : 以為跑到企鵝板= =12/10 13:54
→ qoopichu : 沒有可以直接刷的distro嗎?用模擬的不管怎麼搞一定12/10 15:25
→ qoopichu : 都還是差一截吧12/10 15:25
是,因為沒有用到Root權限。最簡單的做法就是直接把Android刷成postmarketOS。
※ 編輯: ivon852 (42.75.177.140 臺灣), 12/10/2021 15:53:48
推 t5p3ax : 酷! 純推不玩。 12/10 22:30
推 i78524 : 太有趣了!推薦! 12/12 00:22
推 MoneMizuno: 推個,這個很適合用在平板上 12/15 21:14